 For some reason this Blog has insisted - no matter how many times I tried to repost these photos - to show the back of the block first!
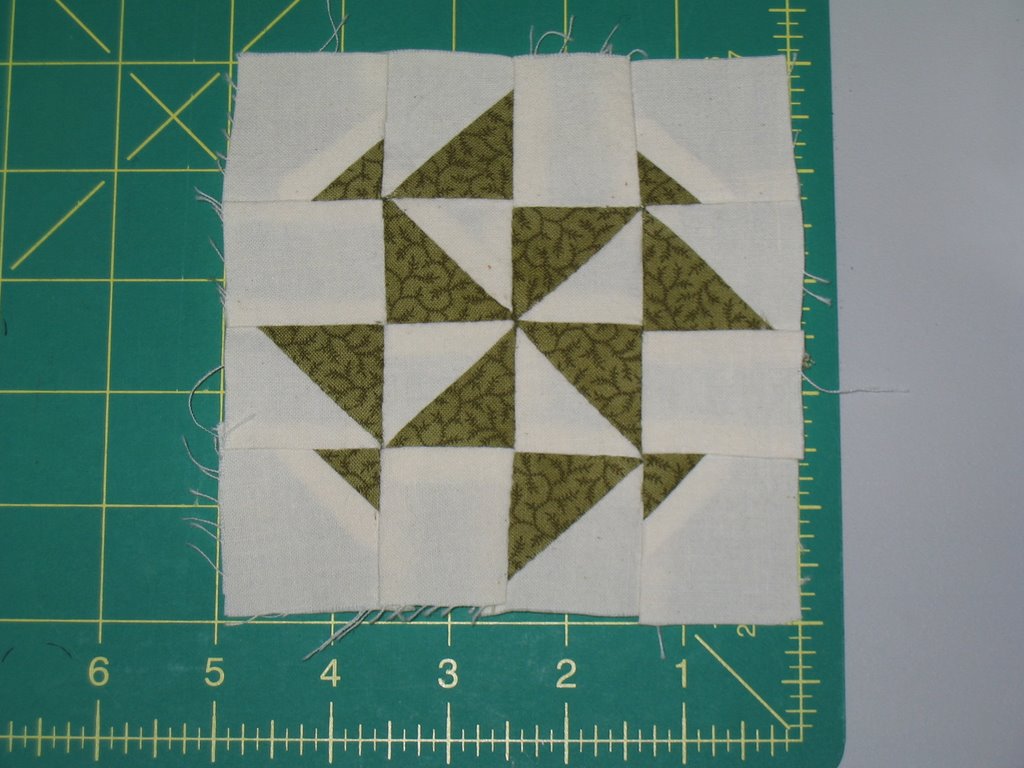
Here it is - my very first Dear Jane block - I think this little block took me about 5 hours to make. I am hoping that I improve with time and as I get more blocks done. If it takes me on average (lets say I get better at this and get the time down to 3 hours) 225 blocks x 3 = 675 hours! I am posting both the back and the front of the block. The back is a bit of a mess. There is a link on the Dear Jane CD to a website for Veronique Crolus who has photos of all the blocks - front and back. I will try to aspire to have my backs look more like Veronique. I think I can - I think I can!!!
I am stitching each block by hand. I think the foundation piecing method would work better but I am left handed and I have never been able to grasp the backwards/forwards/left/right concept very well. I can not cut out a piece of fabric to sew on the backside of a piece of paper and then have it flip right side over and fit the space. For this I blame my mother. She was also left-handed but taught me how to do some things with my right hand and others with my left. Every time I need to learn a new task - first I have to decide which hand I will use to do the new task. Some things I can actually do with either hand equally well -- start an IV or insert a catheter. (that impresses people) But for some reason the concept of foundation piecing is beyond my ability.
There was one quilt I did foundation piecing on - The Mariners compass by M'Liss Rae Hawley - the centre piece was foundation piecing and this is when I discovered my impairment. A considerable amount of fabric was needed to correct my backwardness. So I will sew each Dear Jane block by hand - just like Jane did!
Your block is beautiful !
ReplyDeleteI have two left handed children and there are some things that just are not made for left hand people.
On placing pictures on the blog, you can move them around when they are uploaded. You click on the picture and it should come up with little blocks around it or something like that and then you can drag them with the cursor and place them above or below the other picture. Boy that sounds as clear as mud !